Generating structured data is a great solution for a page content to be organized and looks different from other results on the search result page. Based on what type of CMS your website is, there are different ways to generate structured data for your posts, products, and pages.
If your website is among the ones on which JavaScript is used for loading dynamic content, this article is here to help you by providing practical information about generating structured data by using Google Tag Manager.
In this article, you will read about:
- Generate structured data with JavaScript
- How to install and setup Google Tag Manager on a website
- How to insert static structured data using Google Tag Manager
- Generating dynamic structured data with Variables in Google Tag Manager
- How to test generated structured data with with Rich Result Testing tool
- What to consider about generating structured data using GTM
Generate structured data with JavaScript
As mentioned earlier, websites that use JavaScript for their dynamic content, can generate structured data by use of the JS. There are two common ways:
- Using Google Tag Manager
- Using custom JavaScript
In this article, the first method, Google Tag Manager, is going to be covered, but you can read more about using custom JavaScript on Google Developers structured data with JavaScript article.
If you have already installed the GTM on your website, you can read how to insert static structured data using Google Tag Manager section.
How to install and setup Google Tag Manager on a website
The first step before starting structured data generation, is to install and set up Google Tag Manager on your website. You can follow the steps below to create a GTM account:
1. Log into your google account through https://tagmanager.google.com/
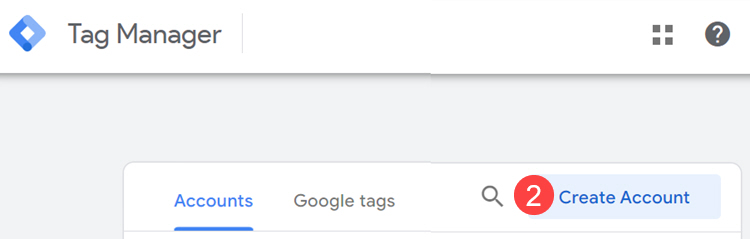
2. Click on the “Create Account” on the top right side.
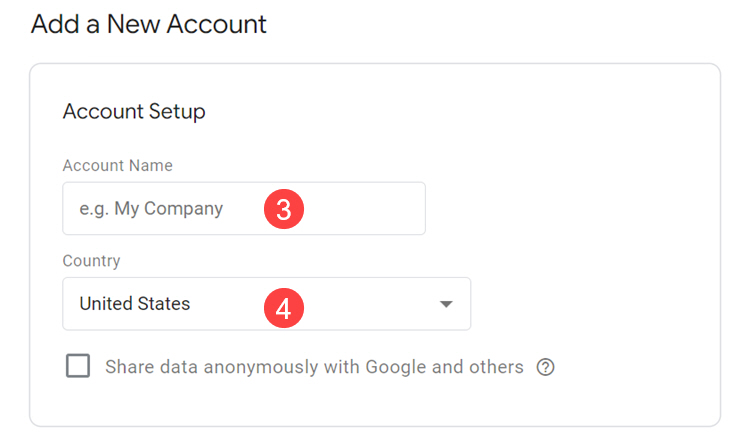
3. Choose a clear name for your account (business or website name is suggested)
4. Select the country of the business.
5. In the Container Setup section, add a name in the Container name field.
6. Select an option in the Target platform between Web, iOS, Android, AMP, and Server.
7. Press the “Create” button to create the new account.

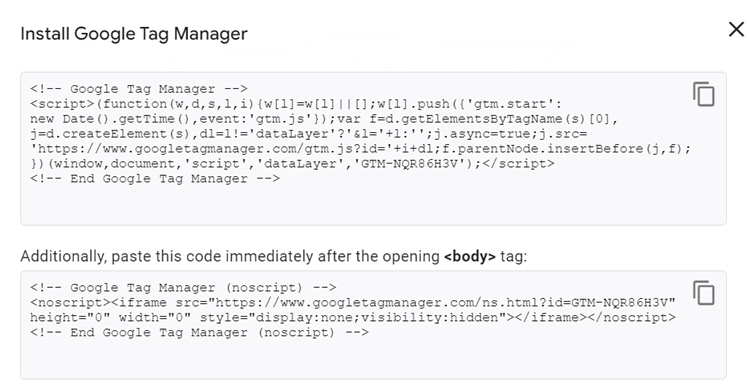
After creating a new account in Google Tag Manager panel, you need to add the GTM script to your website by following the steps provided below:
1. In the new account workspace, click on the GTM ID.
2. Copy and paste the piece of the code in the head of your website.
3. Copy and paste the piece of the code in the tag.
You can add the GTM script whether to all pages of your website or to just some of them which you are going to track or have structured data on.
How to insert static structured data using Google Tag Manager
After installing Google Tag Manager on your website, the next step is to generate JSON-LD structured data with it. By following the steps below, you can generate dynamic structured data with using GTM:
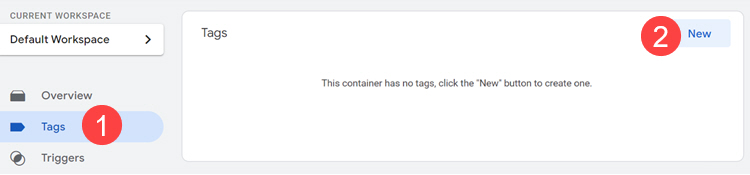
1. In the Tag Manager workspace, head over to the Tags section.
2. Click on the “New” button to create a new tag.
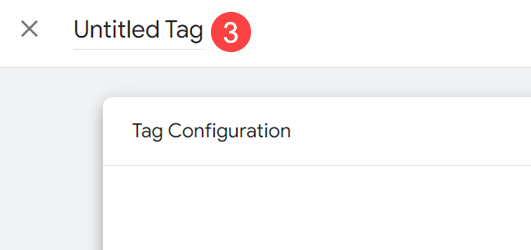
3. Write a tag title.
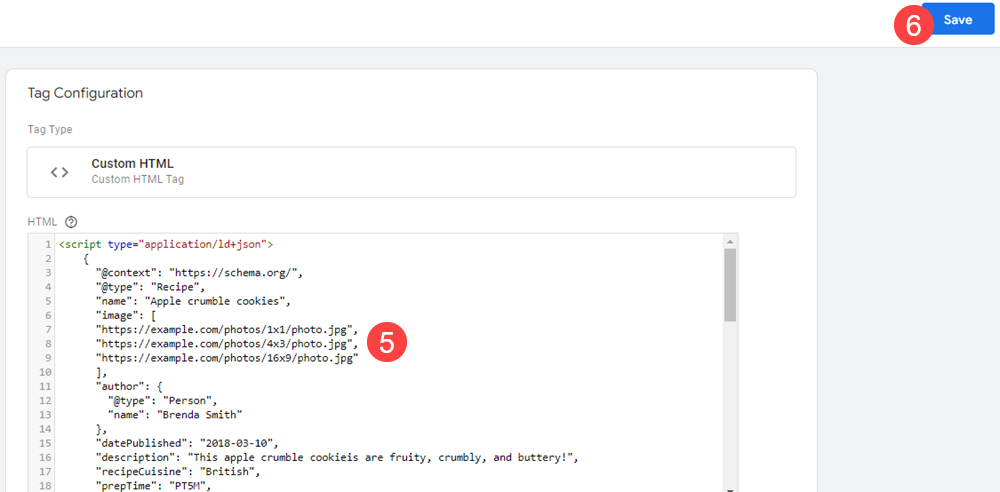
4. In the “Tag Configuration section, add a Custom HTML tag type.

5. In the opened Custom HTML area, enter the structured data that you are going to have on your website.
You can find the structured data type which best suits your website content by visiting Google Developers structured data gallery or Schema.org
<script type="application/ld+json">
    {
      "@context": "https://schema.org/",
      "@type": "Recipe",
      "name": "Apple crumble cookies",
      "image": [
      "https://example.com/photos/1x1/photo.jpg",
      "https://example.com/photos/4x3/photo.jpg",
      "https://example.com/photos/16x9/photo.jpg"
      ],
      "author": {
        "@type": "Person",
        "name": "Brenda Smith"
      },
      "datePublished": "2018-03-10",
      "description": "This apple crumble cookieis are fruity, crumbly, and buttery!",
      "recipeCuisine": "British",
      "prepTime": "PT5M",
      "cookTime": "PT24M",
      "totalTime": "PT29M",
      "keywords": "Apple cookie",
      "recipeYield": "24 serving",
      "recipeCategory": "Cookie",
      "nutrition": {
        "@type": "NutritionInformation",
        "calories": "89 calories"
      },
      "aggregateRating": {
        "@type": "AggregateRating",
        "ratingValue": "5",
        "ratingCount": "18"
      },
      "recipeIngredient": [
        "100 g dried apple",
        "200 g self-raising flour",
        "100 g unsalted butter , (cold)",
		"100 g caster sugar",
		"1 large egg"
      ],
      "recipeInstructions": [
        {
          "@type": "HowToStep",
          "text": "Chop the dried apple into small pieces, add the flour, butter,sugar, and salt. Mix the mixture for one minute."
        },
		        {
          "@type": "HowToStep",
          "text": "Add the large egg to the mixture."
        },
        {
          "@type": "HowToStep",
          "text": "Divide the dough into 24 pieces, then press down into 4cm rounds."
        },
        {
          "@type": "HowToStep",
          "text": "Bake for 8 to 10 minutes, or until lightly golden."
        }
      ]
    }
</script>
6. Save the tag by clicking on the “Save” button.
For specifying on which pages, the structured data tag be fired, you can follow the steps here:
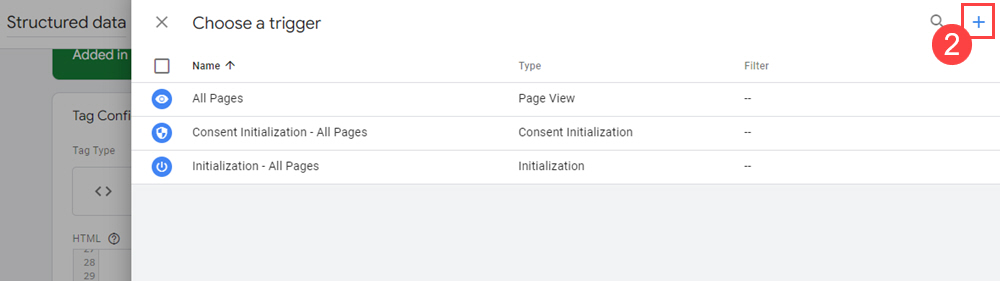
1. While the recent tag that you have created is still open, click somewhere in the Trigger section.
2. From the top right side, click on the + to add a new Trigger type.
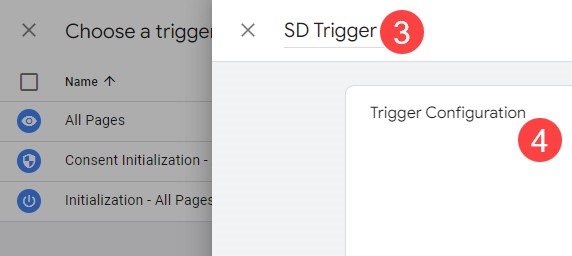
3. Choose a clear name for the trigger.
4. Click on the Trigger Configuration
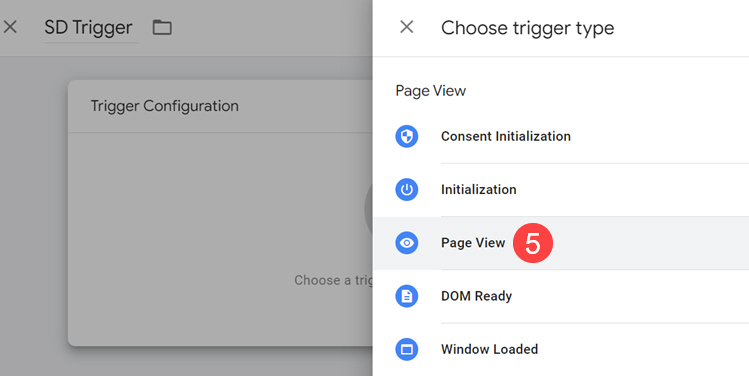
5. Select Page View trigger type.
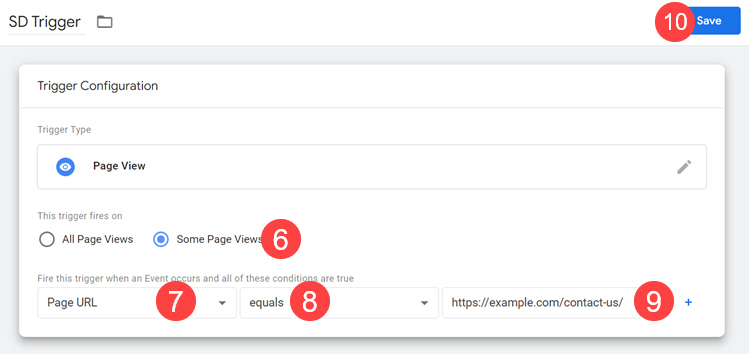
6. On “This trigger fires on the section”, select Some Page Views.
7. Select Page URL from the left dropdown.
8. Select Equals from the middle dropdown.
9. Paste the complete page URL where the trigger is going to be fired. For example, if you want to have the Local Business structured data, you can add the “Contact Us” URL to this field.
10. Press Save to keep the changes
11. Publish the container by clicking on the “Submit” button to have the structured data tag on your website.
Generating dynamic structured data with Variables in Google Tag Manager
Variables in Google Tag Manager is a good solution to avoid mismatching in the inserted Structured Data and content of the page. By using variables in GTM, you can add some information from the page dynamically. Let’s continue explaining more about using variables by an example. We are going to create a dynamic structured data where the required data for a recipe_title is taken from the post’s title. To do so, we need to define a variable in GTM that gets the post title and puts in the structured data schema markup:
1. Choose a CSS selector, or Element ID to use in the GTM custom variable later.
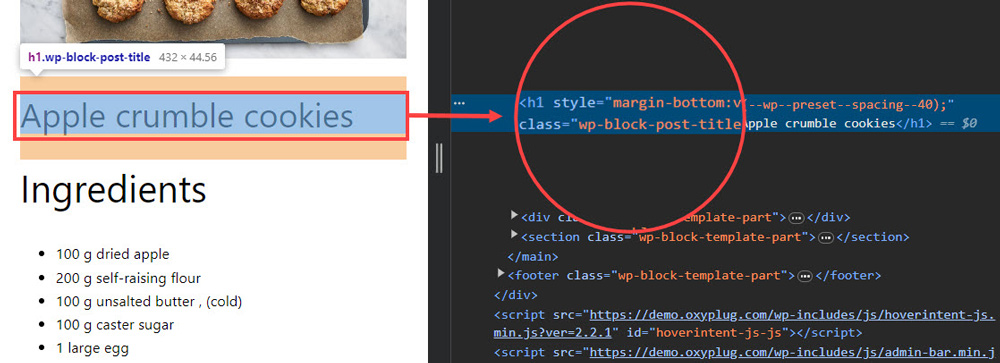
According to the image above, we have chosen “wp-block-post-title” as the post title (H1) CSS selector to use in GTM custom variable.
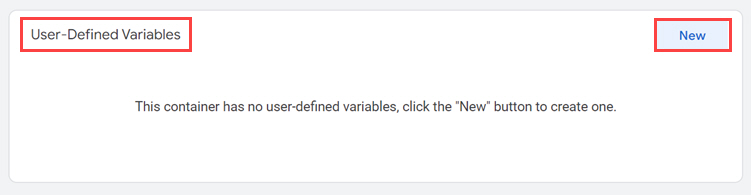
2. From the left side GTM workspace, click on the “Variables”.
3. In the User-Defined Variables section, click on the “New” button.
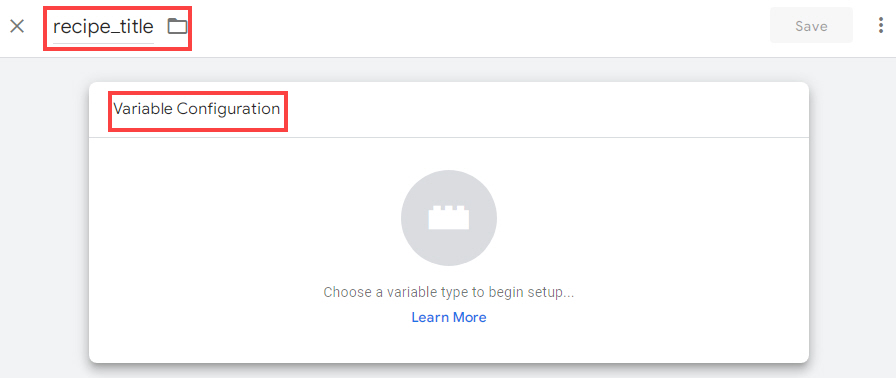
4. Write a meaningful name for the custom variable.
5. Click somewhere in the Variable Configuration section to see the variable types list.
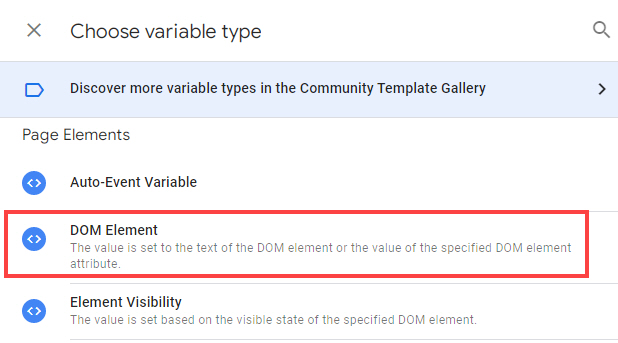
6. Choose “DOM Element” from the variable types list.
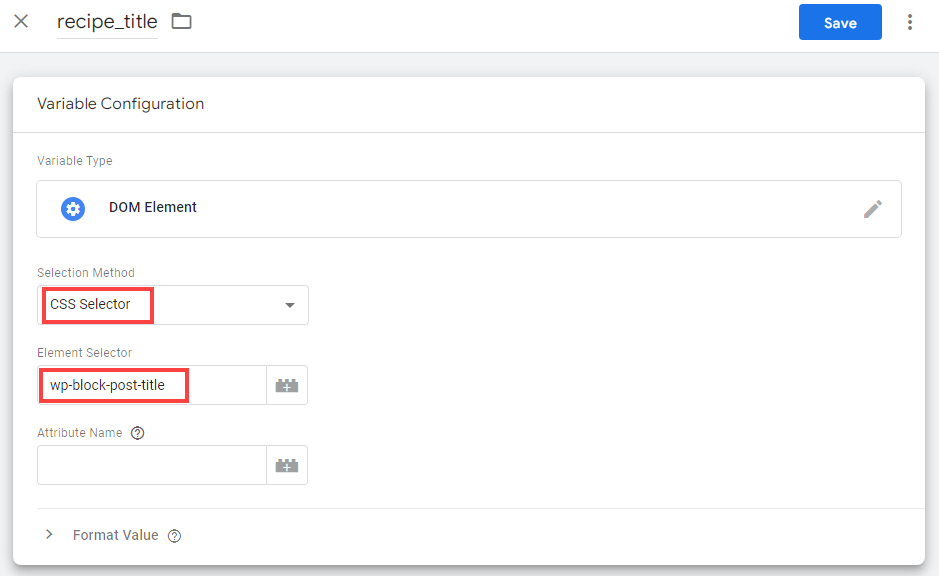
7. From the Selection Method dropdown, choose appropriate selection method (ID or CSS Selector)
8. Based on the selection method that you have chosen, enter Element ID or CSS Selector of the element that is supposed to be used as the GTM variable and save it.
You do not need to make any changes to other empty fields in the custom variable. Just leave them as they are.
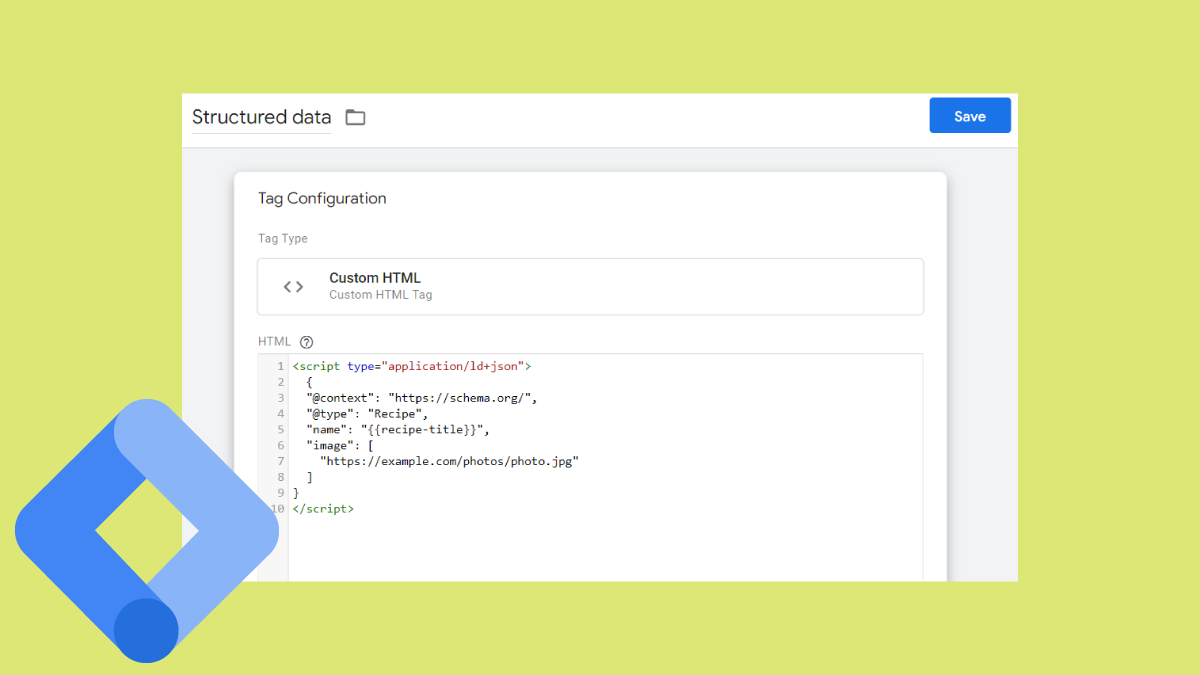
It is time to use the defined variables in the schema markup. Here is a piece of structured data markup that contains the variable {{recipe_title}} that is going to be replaced with the <h1> value:
<script type="application/ld+json">
  {
  "@context": "https://schema.org/",
  "@type": "Recipe",
  "name": "{{recipe_title}}",
  "image": [
    "https://example.com/photos/photo.jpg"
  ]
}
</script>
How to test generated structured data with with Rich Result Testing tool
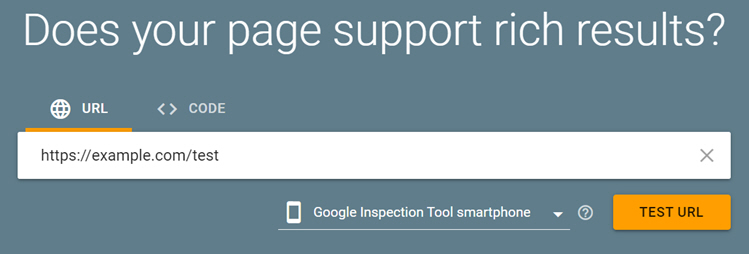
Testing the generated structured data with GTM is the last step and it is here to make sure everything works fine on your website and Google can detect the generated structured data and index it without any problem. To test a page containing the structured data, you can follow the steps below:
1. Open Rich Results Test.
2. Copy and then paste the desired page URL into the “Enter a URL to test” field.
3. Press the “TEST URL” button.
What to consider about generating structured data using GTM
If you are using Google Tag Manager for generating structured data on your website, it’s better to consider that if the structured data is located in the DOM and can be loaded without any need to run JavaScript, so it can be indexed faster. Otherwise, the Google bot should crawl the whole page, read the page’s resources, execute the JS, and render the page in order to access the structured data. This may take more time to be done and results in the delayed access to the structured data by Google bots.
Conclusion
Providing structured data is a necessity to have different types of content organized and look different on the search result page. If you are using CMSs like WordPress, it is possible to use related modules and plugins or generate a custom structured data schema markup by using Google Tag Manager or Custom JavaScript. Generating structured data using GTM can be easily done by just installing and enabling GTM on your website, then inserting the structured data which is suitable for your website.

